
Room specific guides
Here you can find guides, tips and tricks for the more common presentation devices and systems.
However if you can’t find what you’re looking for, you can view and download room specific guides in PDF format from here.
TV or projector
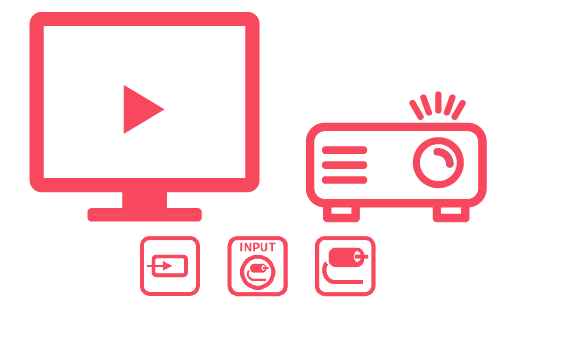
- Switch on the TV or projector
- Make sure that your device is switched on and correctly connected (see section “User’s own laptop“)
- If the image is not visible on the display, check the source (press the INPUT button on the remote control or the devices own buttons)
- Select the correct HDMI source (lecture room PC, laptop etc.) with the remote control’s arrow buttons and press OK
- If you are using a VGA cable, select the VGA or PC option on the display and press OK
- The different kinds of INPUT buttons on remote controls are displayed in the image
- If your device is connected with an HDMI cable, the audio should work automatically
- If you are using a VGA cable, you also need a separate audio cable (with a 3,5mm audio jack)
- The lecture rooms should have an HDMI cable (marked LAPTOP), HDMI-Displayport-adapter, an audio cable, if there are separate speakers in the room, and possibly a VGA cable.
Lecture Hall PC
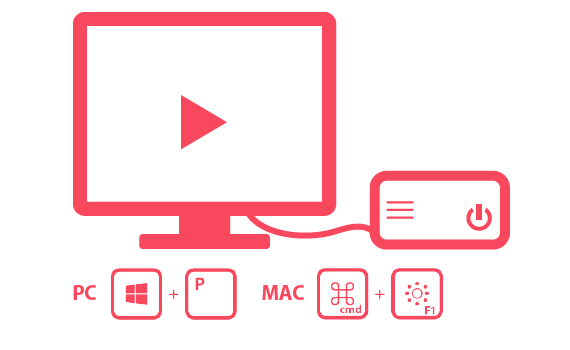
- The computer should be switched on. However, if it is turned off, switch it on from the power button (NB: make sure you are using the University’s PC!)
- Signing in with UTU user name: select OTHER USER
- Signing in without UTU user name: select VISITOR
- You can access the sign in menu by e.g. clicking the “up” arrow key, clicking the mouse or swiping up with touch screens
- If you wish to use the TV or projector, make sure that it is switched on
- If your presentation is not displayed:
- Make sure that the INPUT-choice of the TV or projector is correct
- If necessary, select the correct display from your computer:
- In Windows, press WIN + P buttons simultaneously
- With Apple devices, press CMD + F1 simultaneously
- The Duplicate function shares your desktop view to the display as such
- With the Extend function, you can divide your desktop view to multiple displays
- If necessary, select the correct display from your computer:
- Make sure that the INPUT-choice of the TV or projector is correct
- Remember to log out of the computer when your presentation is done
- Do not turn off the computer.
User’s Own Laptop
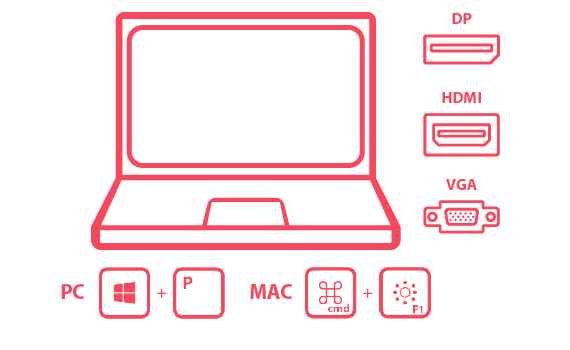
- Make sure that the TV or projector is switched on
- Connect your laptop to the HDMI cable (marked LAPTOP)
- If needed, connect your device to the HDMI cable with an adapter
- Lecture halls and smaller facilities should have at least HDMI-DisplayPort-adapter
- Some facilities or computers can still have a VGA cable
- If your presentation is not displayed:
- Make sure that the INPUT-choice of the TV or projector is correct
- If necessary, select the correct display from your computer:
- In Windows, press WIN + P buttons simultaneously
- With Apple devices, press CMD + F1 buttons simultaneously
- The Duplicate function shares your desktop view to the display as such
- With the Extend function, you can divide your desktop view to multiple displays
- The Second screen only (or Projector only) function displays your desktop only on the room’s display
- If your device is connected with an HDMI cable, the audio should work automatically
- If there are speakers in the room or your device is connected with a VGA cable, you also need a separate audio cable (with a 3,5mm audio jack).
Mobile devices
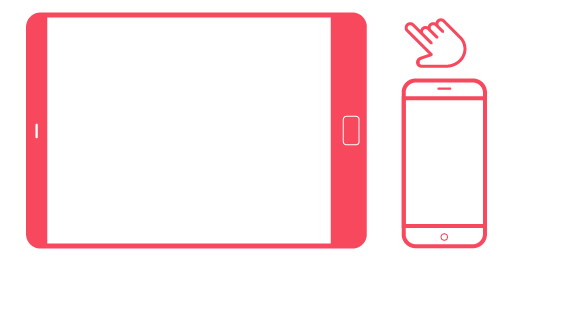
- Make sure that the TV or projector is switched on
- Android phones and tablets:
- You can connect your device with the HDMI-cable (marked LAPTOP) by using a suitable adapter
- Micro USB – HDMI-adapter
- USB-C – HDMI-adapter
- You can connect your device with the HDMI-cable (marked LAPTOP) by using a suitable adapter
- iPhone/iPad:
- You can connect your device with the HDMI cable (marked LAPTOP) by using a suitable adapter
- Lightning – HDMI-adapter
- Thunderbolt 3/USB-C – HDMI-adapter
- If the room has an Apple TV, you can use it to share your screen or media to the TV or projector
- You can connect your device with the HDMI cable (marked LAPTOP) by using a suitable adapter
- If your presentation is not displayed:
- Make sure that the INPUT-choice of the TV or projector is correct.
Control Panels
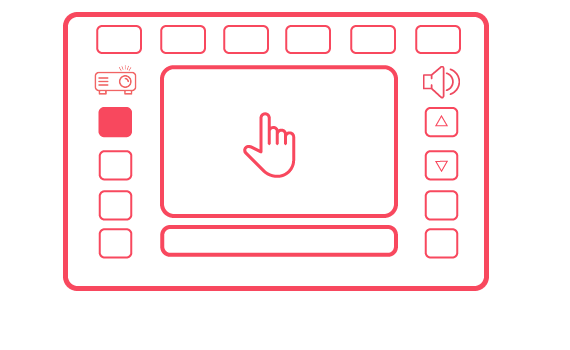
- Switch on the devices by touching the control panel
- Select language
- Select projector(s)
- Select source. The audio is usually switched on
- Video projectors, Blu-ray player, volume, and video conference equipment are controlled with the panel
- Follow the instructions on the display
- The document camera is activated from the panel and then directed with its own buttons.
HDMI Splitters
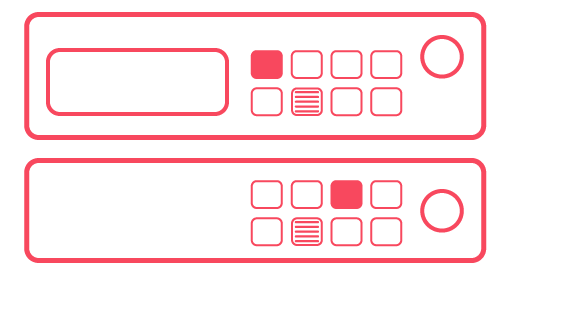
- On the HDMI splitter, activate the device you are using (laptop/tablet etc.) from the INPUT row (orange light)
- Always select the input first
- Next, select the display (TV/projector etc.) on the OUTPUT row (blue light)
- Please note that HDMI splitters can vary in different facilities. However, the principle is always the same.
Touch Screens
- Some rooms have a touch screen TV
- Switch on the TV with a remote control or from the power button
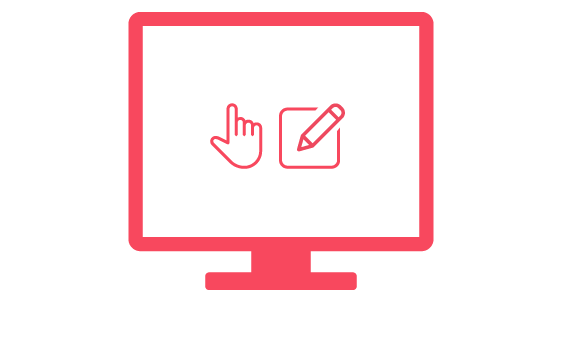
- Using the interactive touch screen feature:
-
- Ctouch
- You can activate the Ctouch feature from the power button at the bottom
- Select the pencil icon. You can select either colored or black and white
- You can draw either with your finger or with a separate touch screen stylus
- Exit the drawing feature by tapping X on the screen
- Seewo/TK-Team
- You can activate the drawing feature by touching the screen with two fingers until the drawing icons are displayed
- Select the pencil icon. You can change the color by pressing the pencil icon (green – red – black)
- You can draw either with your finger or with a separate touch screen stylus
- Exit the drawing feature by tapping X on the screen.
- Ctouch
Speakers
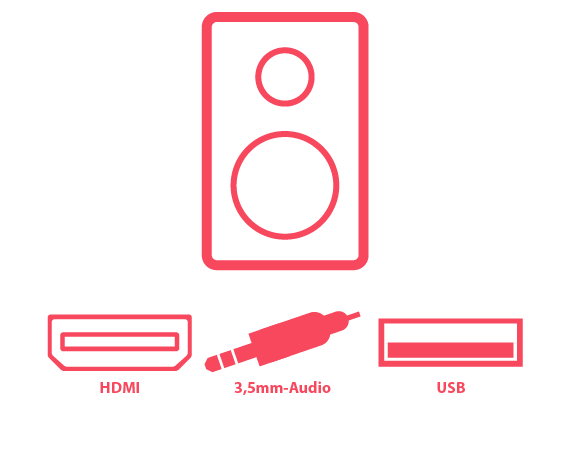
- The teaching facilities have either integrated speakers on the displays or separate speakers
- The audio can be connected to the speakers with:
- a HDMI cable
- separate audio cable
- Meeting rooms can have speaker phones with USB ports but it is not recommended that these are used as speakers
- Selecting playback device in Windows: (If the audio does not play or comes from the laptop’s speakers):
- Open search by clicking the magnifier icon at Windows’ bottom taskbar: Start -> Search programs and files
Type Sound and click Enter-
- In lecture halls, select the Extron device
- In classrooms, select the Aten device, or if you have attached the audio cable, select Speakers/Headphones
- Right-click with the mouse and select ”Set as Default Device”.
-
- Open search by clicking the magnifier icon at Windows’ bottom taskbar: Start -> Search programs and files
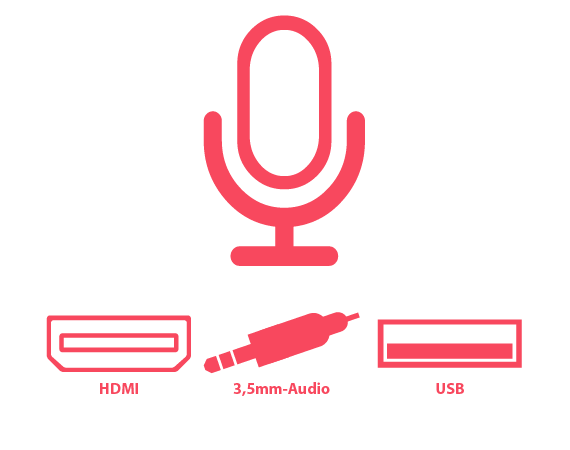
Microphones
- When the lecture hall system is switched on from the control panel, the microphone audio is also turned on at the same time
- Microphones have to be switched on from their own switch. Green light means that the microphone is on, red means that it is turned off
- The volume of the microphones is always adjusted separately. There is a number at the side or base of the microphone according to which you can adjust the volume in the control panel
- Battery-operated microphones are on the table or in the charger
- Please switch off the microphone after using it. Always return the microphone to the charger after use, otherwise the battery will run out.
- You can also connect a conference microphone or the lecture hall microphones to the computer with a USB or audio cable
- Search by clicking the magnifier icon in the Windows taskbar
- Type Sound and click Enter
- Select the “Recording” tab. The USB devices are listed under their own names
- When connecting to the lecture hall system, select “Focusrite”
- Devices connected with the audio cord are visible as “Jack Mic”.
- Selecting the audio device if needed:
- Right-click with the mouse and select ”Set as Default Device”.
Headsets (combination of earphones and microphone)
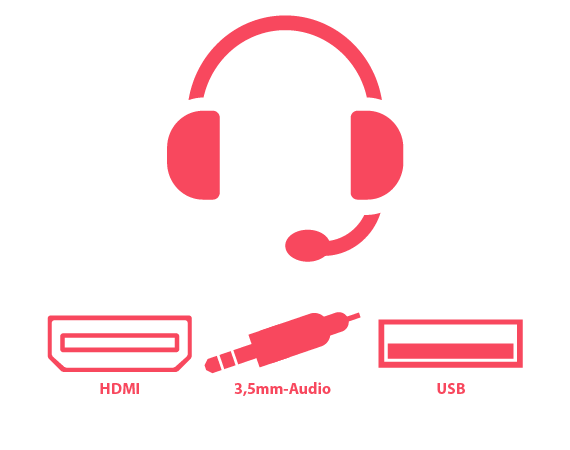
- Connect either with a USB or 3.5mm audio cable (1 or 2 cable version)
- Headsets have to be connected to the computer before the online meeting program is started
- The used audio system is selected in the program
- The volume can also be adjusted through the computer:
- Select the speaker icon at the bottom right of the desktop -> Mixer -> device
- Selecting audio device in Windows = speakers + microphone
- With Mac: open Settings (gear icon menu) -> open Sound menu ->
- If necessary, change the output/input settings depending on the connected device (output = speaker to which the audio is directed) / (input = microphone through which the audio is recorded)