
Document camera
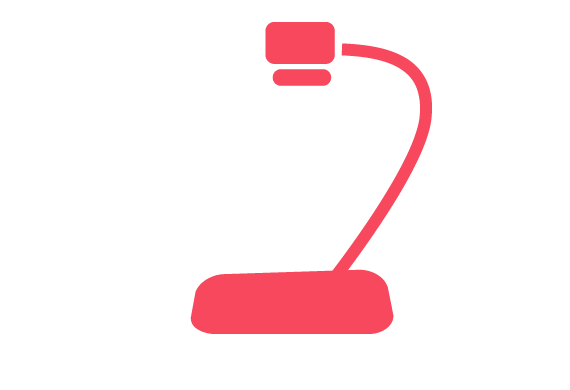
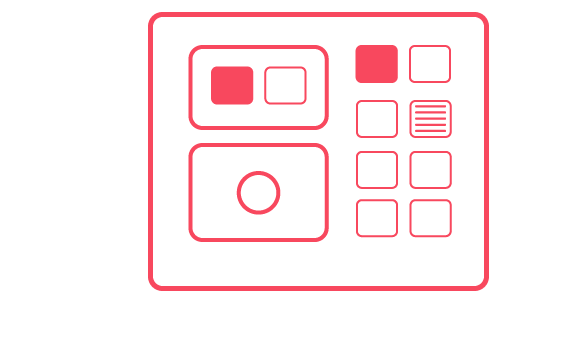
Activate the document camera from the facility’s control panel
The document camera is directed with its own buttons:
- Power
- The device’s power switch (on / off)
- Lamp
- Additional light – lighting the projected object from above
- Background light – e.g. for projecting a slide with background light
- Zoom
- Zooming in / out the image
- Autofocus
- Autofocusing the image
- If the image is unfocused, use the button
- Rotate
- Rotates the image 90 degrees at a time
- Freeze / Stop
- Stops the current image
- By using the button again, projecting the image continues normally.
The features and locations of the buttons may vary depending on the model of the document camera.
Catchbox microphone

- Before use:
- Open the Catchbox by twisting the middle part approximately 90 degrees to the left or to the right (magnet locking mechanism)
- Open the velcro strap and place the wireless microphone transmitter inside the middle part
- Connect the wireless microphone transmitter to the Catchbox’s cable
- Make sure that the microphone transmitter and the Catchbox’s gyroscope are switched on
- Attach the velcro strap around the middle part
- Place the middle part back to the Catchbox so that the arrows face each other and the magnet locking mechanism is activated
- You can adjust the sensitivity of the Catchbox microphone from the control panel by selecting the right microphone transmitter.
USB switch
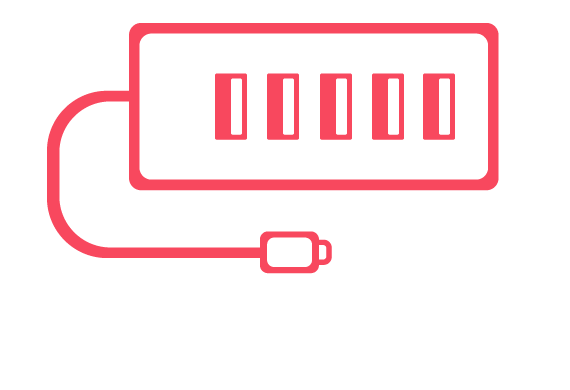
The purpose is to change the managing of the Logitech MeetUp camera between the facilities’ PC and the laptop.
- Connect the USB cable to your own portable device
- From the switch, activate LAPTOP
- This way, all the devices that are connected to the switch will function in the portable device
Using the camera and USB (Medisiina D)
- There are both the TY / University of Turku and the VSSHP / Hospital District of Southwest Finland computers in the facilities
- With the switch, devices can be changed between these two
- Change the device using the USB-button until the light indicates the computer you are using
- The camera and the wireless keyboard/mouse function according to the selected computer
- To the laptop, connect also LAPTOP USB
- The switch controls all of the facility’s USB devices as long as they have been connected to the switch (meetup, wireless keyboard/mouse, touch feature of the touch screen etc.).
Shared facilities
Skooppi 1 & 2 facilities (in the Medisiina D building):
- Switch on the touch screen by using the remote control or the device’s own power button
- First, select the preferred facility from the control panel installed in the electric wire cover
- From the panel, select the computer you want to use (TY / University of Turku PC or VSSHP / Hospital District of Southwest Finland PC or Laptop)
- The volume in the facilities is controlled by using the panel’s volume controllers
- In Skooppi 2, the image and sound can also be shared to Skooppi 1
- When sharing the image to Skooppi 1, you must select HDMI2.
Blokki 1–3 facilities (in the Medisiina D building):
- Switch on the touch screen by using the remote control or the device’s own power button
- First, select the preferred facility from the control panel installed in the electric wire cover
-
- From the panel, select the computer you want to use (TY / University of Turku PC or VSSHP / Hospital District of Southwest Finland PC or Laptop)
- The volume in the facilities is controlled by using the panel’s volume controllers
- In Blokki 1 and 3, the panel is used to control the facility in question only
- In Blokki 2, the image and sound can also be shared to the other Blokki facilities by using the panel’s buttons
-
- Blokki 1, Blokki 3 or All (NB: the panel in Blokki 2 is slightly different)
- When sharing the image to the other Blokki facilities, you must select HDMI2.